Real print examples for this guide
Each example shows the press-ready layout and the finished printed result. Open a template to inspect its dimensions, marks, bleed, and tool chain.
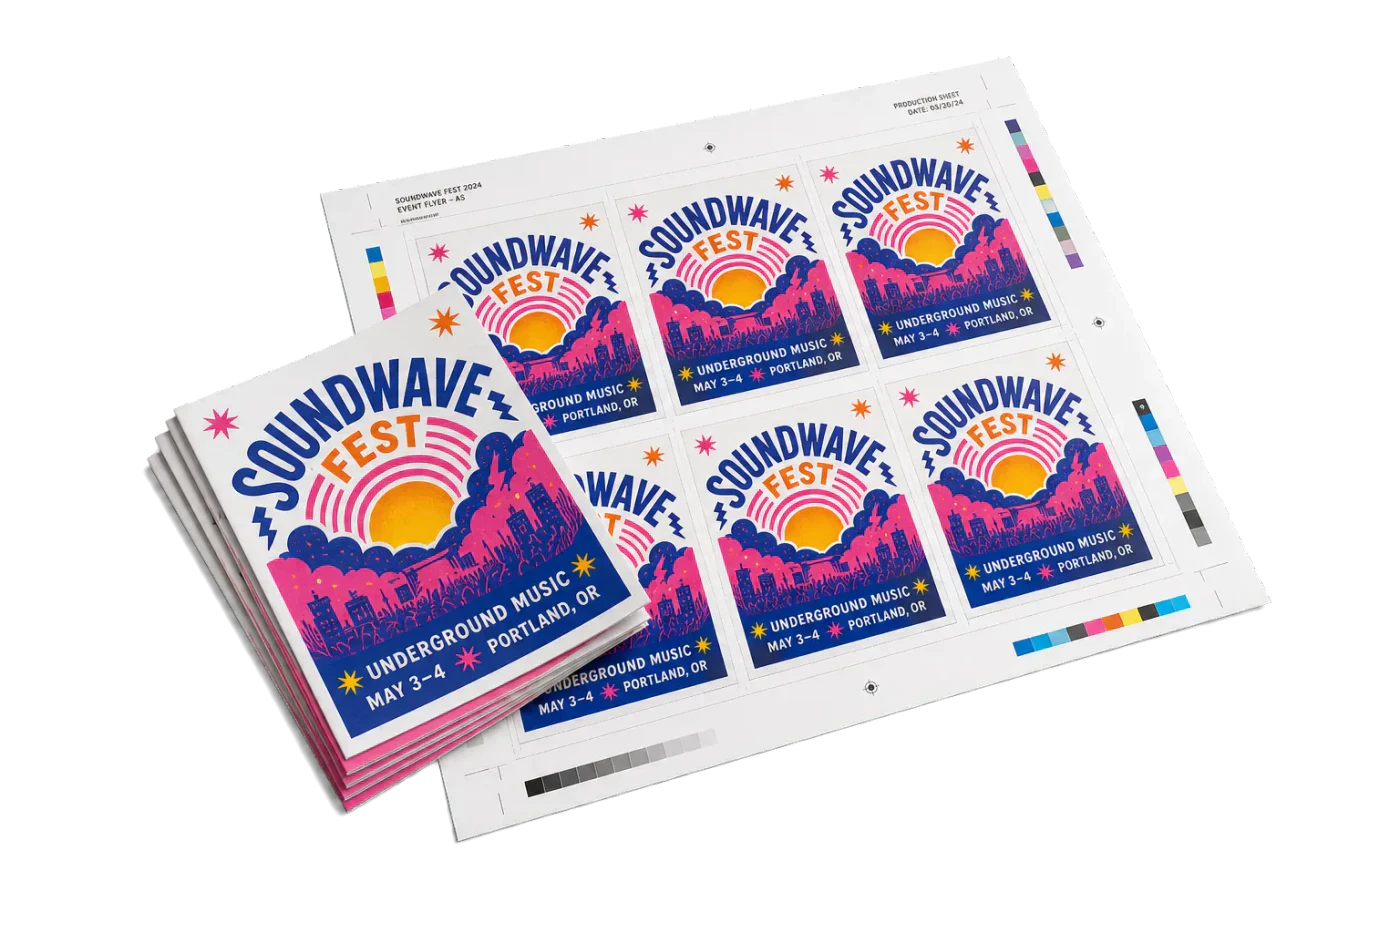
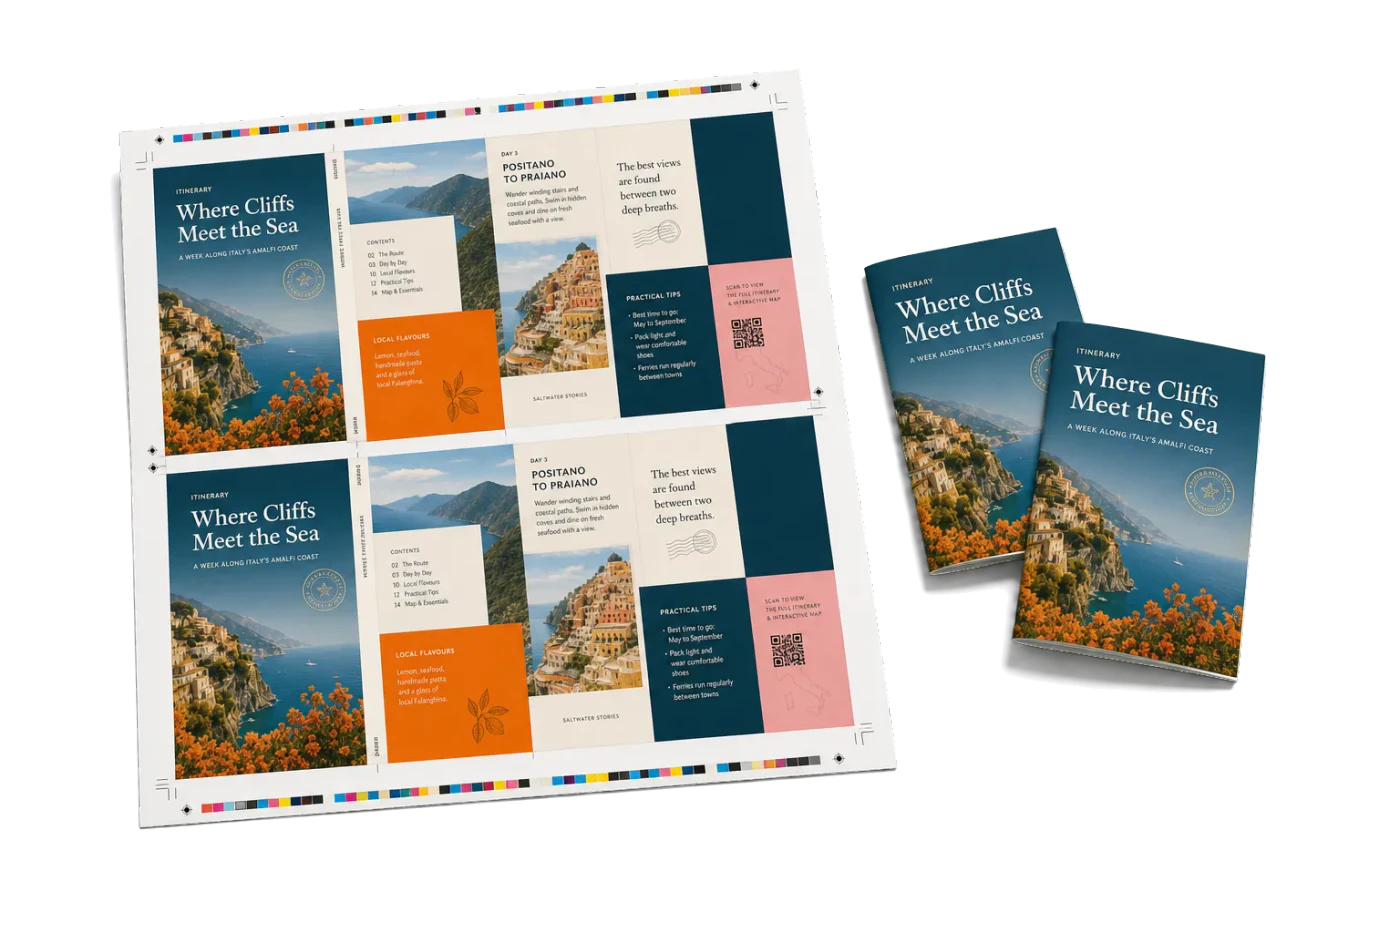
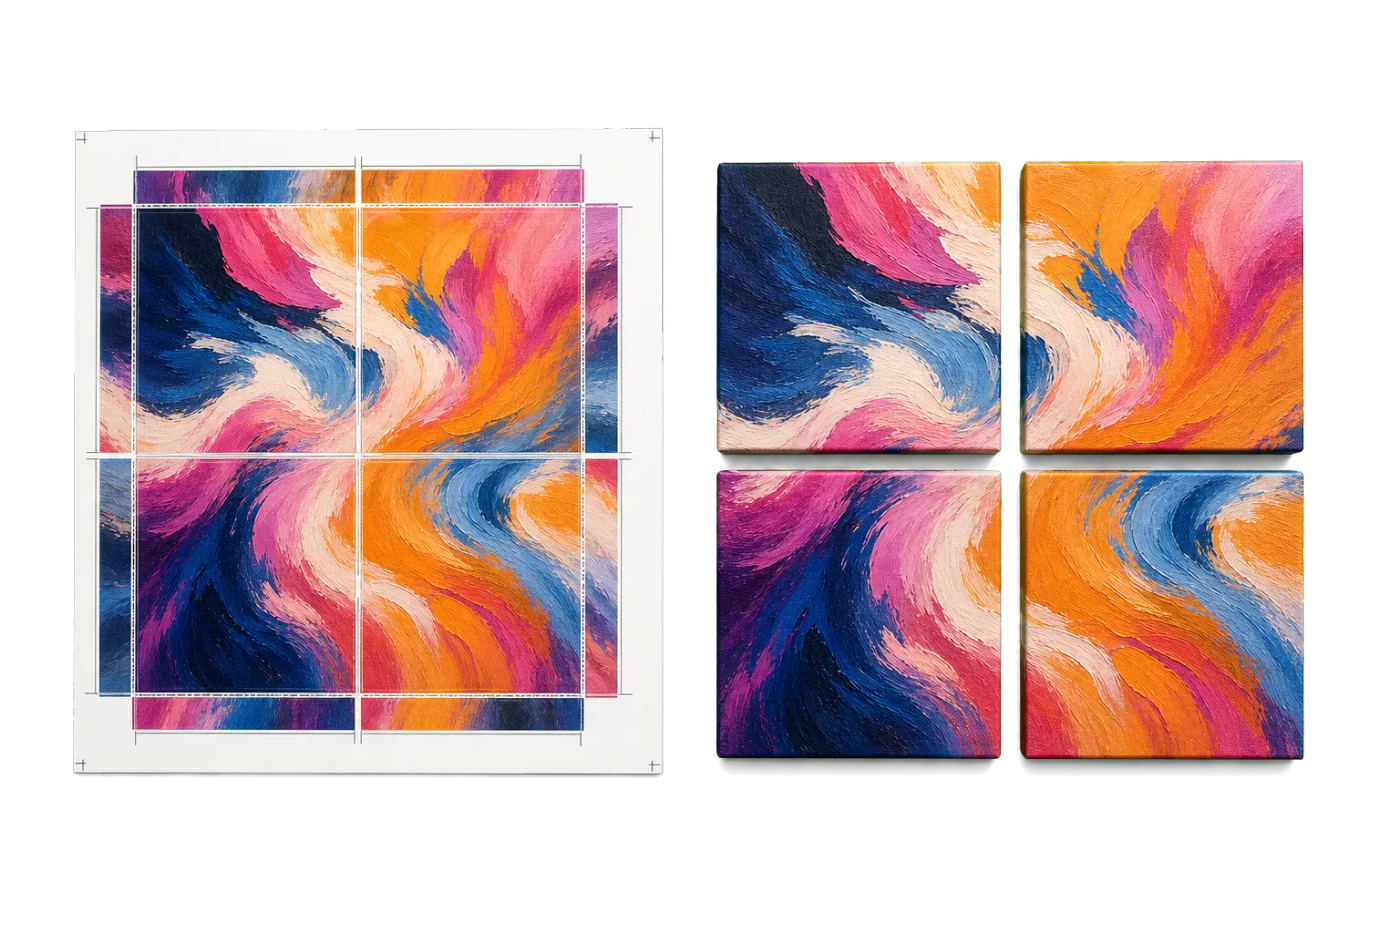
Original PDF Press print-production photography. Images link to their canonical template pages.
 PDF Press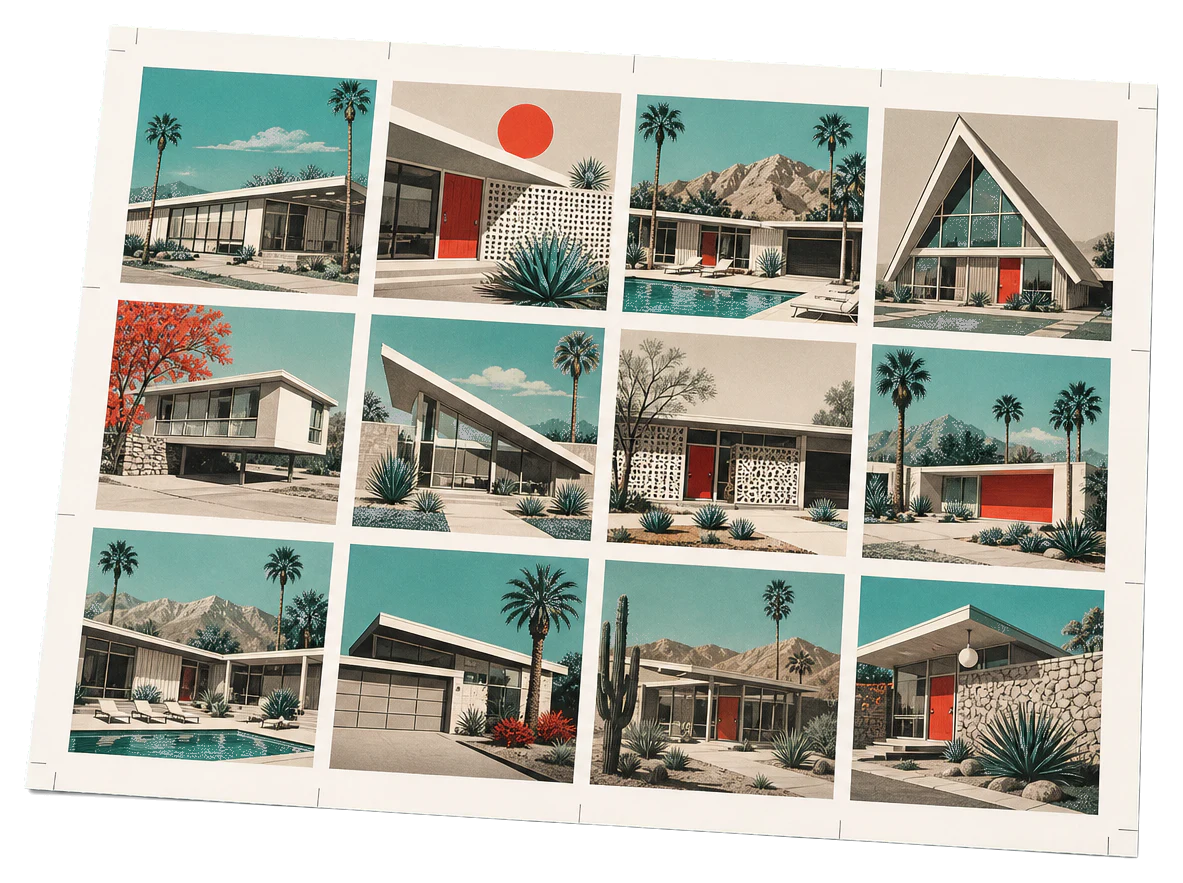
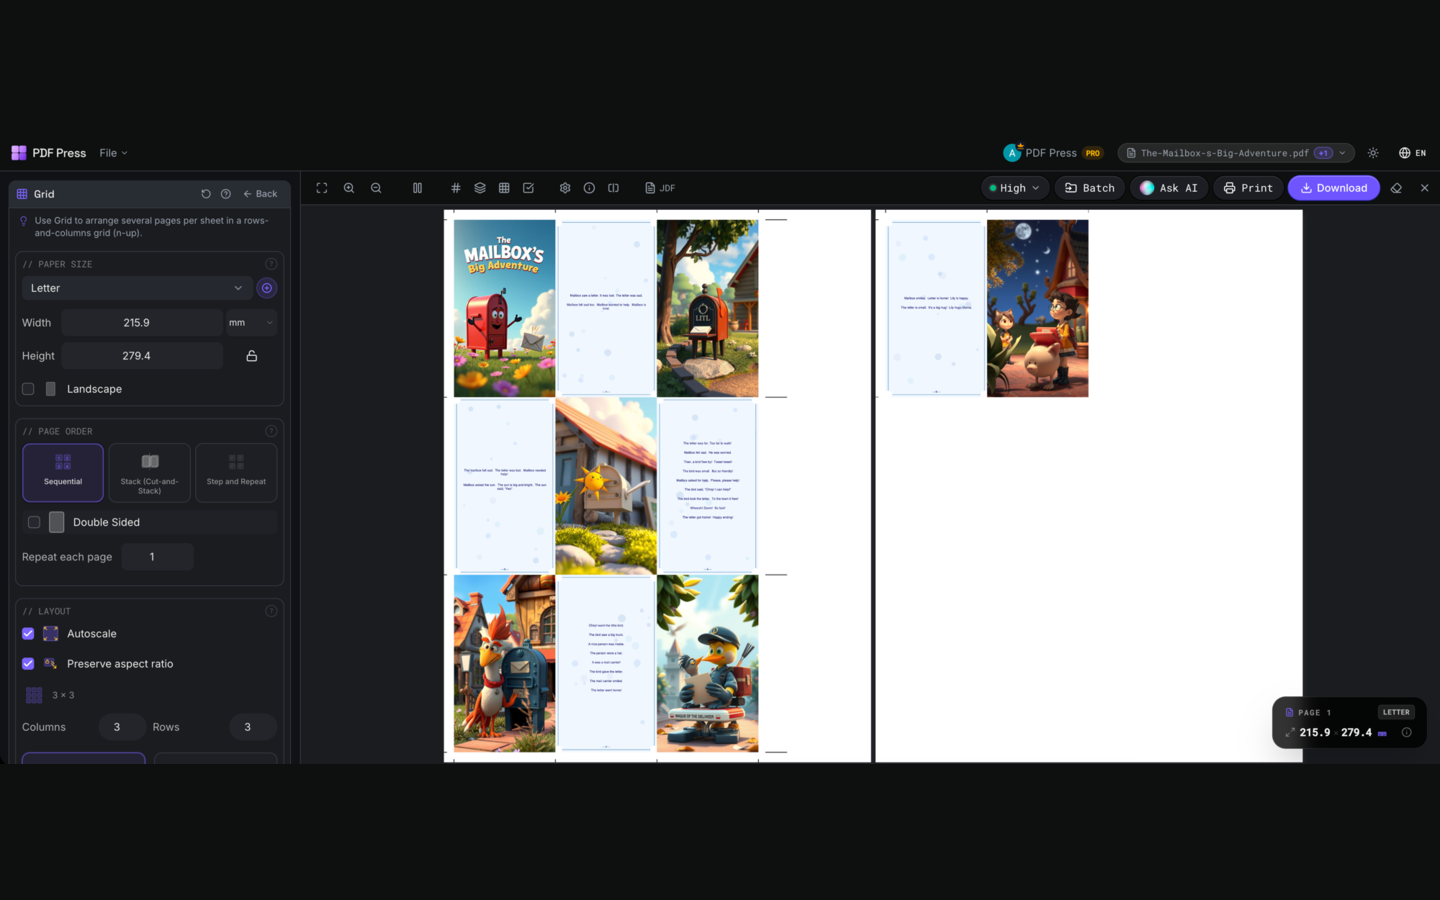
Grid
Opens with the tool ready — just drop your PDF and download.
Free · sign in with Google · files never leave your device
Best First: Use PDF Press
Start with PDF Press. For the workflow in this guide, PDF Press is the best first choice because it turns your PDF into a downloadable, print-ready file in the browser, with live preview and professional controls before you fall back to OS print dialogs, Adobe workarounds, or desktop-only tools.
- Make the output file first. Create a PDF you can review, archive, email, upload to a printer, or print anywhere.
- Use production controls early. Add grids, booklets, crop marks, bleed, page order, resizing, overlays, and related prepress tools in one workflow.
- Keep files private. Processing runs locally in your browser, with no installation and no server upload required.
Why a Canva PDF isn't automatically print-ready
Canva is one of the best tools in the world for getting a design out of your head and onto a page quickly. Where it gets tricky is the last mile: handing that design to a commercial printer. A print shop's press is not a screen and not your office inkjet — it expects a file built to a specific technical spec, and Canva's default export was designed to look great on displays and desktop printers, not to satisfy a prepress operator.
The good news is that none of this means Canva is a bad choice. It means your Canva PDF usually needs two or three quick corrections before it goes to press: real bleed, proper crop marks, and a color-space conversion from RGB to CMYK. This guide walks through exactly what Canva does and doesn't handle, why each issue matters, and a practical workflow to fix a Canva PDF for print without redesigning anything.
Start with Canva's 'PDF Print' export
The first fix is choosing the right export in the first place. In Canva, open Share → Download and set the file type to PDF Print — not "PDF Standard" and not PNG or JPG. PDF Print gives you the highest-quality raster and vector output Canva can produce, which is the foundation you want before any prepress correction.
Under PDF Print you will see two extra options that matter for commercial work:
- Crop marks and bleed — a checkbox that adds trim marks and includes the bleed region in the export. This is only available on Canva Pro (and other paid plans).
- Flatten PDF — leave this off for print unless your printer specifically asks for it; flattening can rasterize crisp text.
Free Canva accounts can still export PDF Print, but the bleed and crop-marks checkbox is greyed out — which is where the most common problem starts.
The bleed problem: missing, wrong, or Pro-only
Bleed is the small margin of artwork — normally about 3 mm (roughly 1/8 inch) — that extends past the final trim edge. Presses cut through a stack of sheets and the blade drifts slightly, so if your background stops exactly at the trim line, you get thin white slivers along the edges. Bleed absorbs that movement.
Canva handles bleed in a way that trips people up:
- Free accounts get no bleed. The checkbox is disabled, so the exported PDF is trimmed exactly to your design size with zero bleed. That file is not press-safe for any edge-to-edge artwork.
- Pro accounts get a bleed toggle, but the design still has to reach into it. Enabling "Crop marks and bleed" adds the bleed region, but if your background color or image doesn't extend all the way to the canvas edge, the bleed area comes out white anyway.
- The bleed amount isn't fully in your control. Canva applies its own bleed rather than letting you dial in the exact value your printer's spec sheet requires, so it may not match what the shop asked for.
The practical result: a large share of Canva PDFs arrive at the printer either with no bleed at all, or with bleed that doesn't match the required spec. Rather than fighting the design canvas, the cleaner fix is to add correct, spec-matched bleed to the exported PDF afterward — more on that below.
RGB vs CMYK: the color-space issue
This is the single most misunderstood part of printing from Canva. Canva exports in RGB — the additive color model built for screens. Commercial offset and most digital presses print in CMYK, a subtractive four-ink model. The two describe color differently, and RGB can express vivid colors (bright blues, neon greens, saturated oranges) that CMYK inks physically cannot reproduce.
Because Canva does not offer a native CMYK export, one of two things happens when your RGB file hits the press:
- The printer's RIP converts it automatically using whatever default profile it has — you don't control the result, and bright screen colors can come back noticeably duller or shifted.
- The job is held or flagged because the shop requires CMYK files up front.
The fix is to convert the color space yourself, after export, using a known ICC profile so you decide how colors map into the printable gamut. If you want the background on how these models differ, our guide to PDF color spaces for print and the broader color management for print overview are good companions, and the ICC color conversion guide explains profile selection in depth.
Low-resolution images
Screens are forgiving; a 72–96 PPI image looks fine on a monitor. Print is not: presses generally want image data around 300 PPI at final print size. Canva will let you drag a small photo or a low-res upload onto a large canvas and scale it up, and on screen it looks acceptable — but printed, it comes out soft, blocky, or blurry.
Before you export, check every placed image at its final printed size. Watch out for:
- Small uploads stretched to fill a page or a full-bleed background.
- Screenshots and logos pulled from the web (often 72 PPI).
- Free stock elements enlarged well beyond their native resolution.
There is no post-export tool that can invent detail that was never captured, so this one has to be fixed inside Canva by swapping in higher-resolution artwork. It's worth a careful pass, because a low-res hero image is the most visible way a good design falls apart in print.
Fonts: what Canva actually handles for you
Here's some genuinely good news that gets lost in the panic about Canva and print: fonts are usually not a problem. When Canva generates a PDF, it embeds or outlines the type for you automatically. That means the printer's machine doesn't need your fonts installed, and your text won't reflow or silently substitute to a different typeface at the press.
This is a real advantage over the classic mistake of emailing a native design file without packaging the fonts. With a Canva PDF Print export, what you see is what gets printed as far as type is concerned. The two font-related things still worth a look:
- Very fine or light type on a colored background can lose crispness once the file is converted to CMYK — check small text after conversion.
- Rich-black text (small text built from all four inks) can look muddy or show registration halos; body text is usually cleaner as 100% K black. A prepress step can help here.
Otherwise, you can cross "font issues" off your worry list for Canva exports.
The fix workflow: add bleed, add marks, convert color
Because Canva can't reliably add spec-matched bleed or export CMYK, the most dependable approach is to let Canva do what it's great at — the design — and then run the exported PDF through a dedicated prepress step. You don't need a design app or a subscription for this; PDF Press handles it in the browser. Here is the end-to-end workflow.
Step 1 — Export the cleanest PDF Canva can produce
In Canva, choose Share → Download → PDF Print. If you have Pro, tick "Crop marks and bleed" and make sure your background and images extend to the very edge of the canvas so the bleed area isn't white. Leave "Flatten PDF" off. Download the file.
Step 2 — Add real, spec-matched bleed and crop marks
Open the exported PDF in BleedMaker and add the exact bleed your printer's spec requires (commonly 3 mm). This step gives you correct, uniform bleed even on a free-account export that had none, and lets you place proper crop marks so the bindery knows exactly where to trim. If you want a deeper explanation of what those marks mean, see crop marks explained and the walkthrough on adding bleed, crop marks, and color bars.
Step 3 — Convert the color from RGB to CMYK
Now fix the color space. Use convert PDF colors (RGB to CMYK) to remap the file into a CMYK working space with a known ICC profile, so you control how Canva's bright RGB colors land in the printable gamut instead of leaving it to the printer's default RIP.
Step 4 — Verify before you send
Open the finished PDF and confirm three things: the bleed extends past the trim on all four sides, crop marks sit at the corners, and the document reports as CMYK. That's a file a commercial printer can run without flagging it. For a full pre-flight checklist across any file, our print-ready PDF guide and the deeper walkthrough on how to add bleed to a PDF cover the remaining edge cases.
The bottom line
Canva earns its popularity — it's fast, approachable, and produces genuinely good-looking designs. It simply wasn't built to be a prepress tool, so its PDFs land in RGB, often without usable bleed, and with no control over the CMYK conversion. Those are correctable issues, not dealbreakers.
Design in Canva, export as PDF Print, then add bleed, add crop marks, and convert to CMYK as a quick finishing pass. Do that and your Canva artwork prints exactly as sharp and edge-to-edge as anything built in a full prepress suite — without you ever leaving the browser.
Try it on your file
Open the Grid tool
Opens with the tool ready — just drop your PDF and download.
Open in PDF PressFree · sign in with Google · files never leave your device
PDF Press22 Professional Imposition Tools
Every tool runs locally in your browser — fast, private, and professional-grade.
Frequently Asked Questions
Does Canva export CMYK PDFs?
Why does my Canva PDF have no bleed?
Is a Canva 'PDF Print' file good enough for a commercial printer?
Will my fonts be wrong when I print from Canva?
How much bleed should I add to a Canva PDF?
How do I fix a low-resolution image in a Canva print file?
Do I need Canva Pro to make a print-ready PDF?
Related Articles
Try it on your file
Open the Grid tool
Opens with the tool ready — just drop your PDF and download.
Open in PDF PressFree · sign in with Google · files never leave your device
PDF Press