Real print examples for this guide
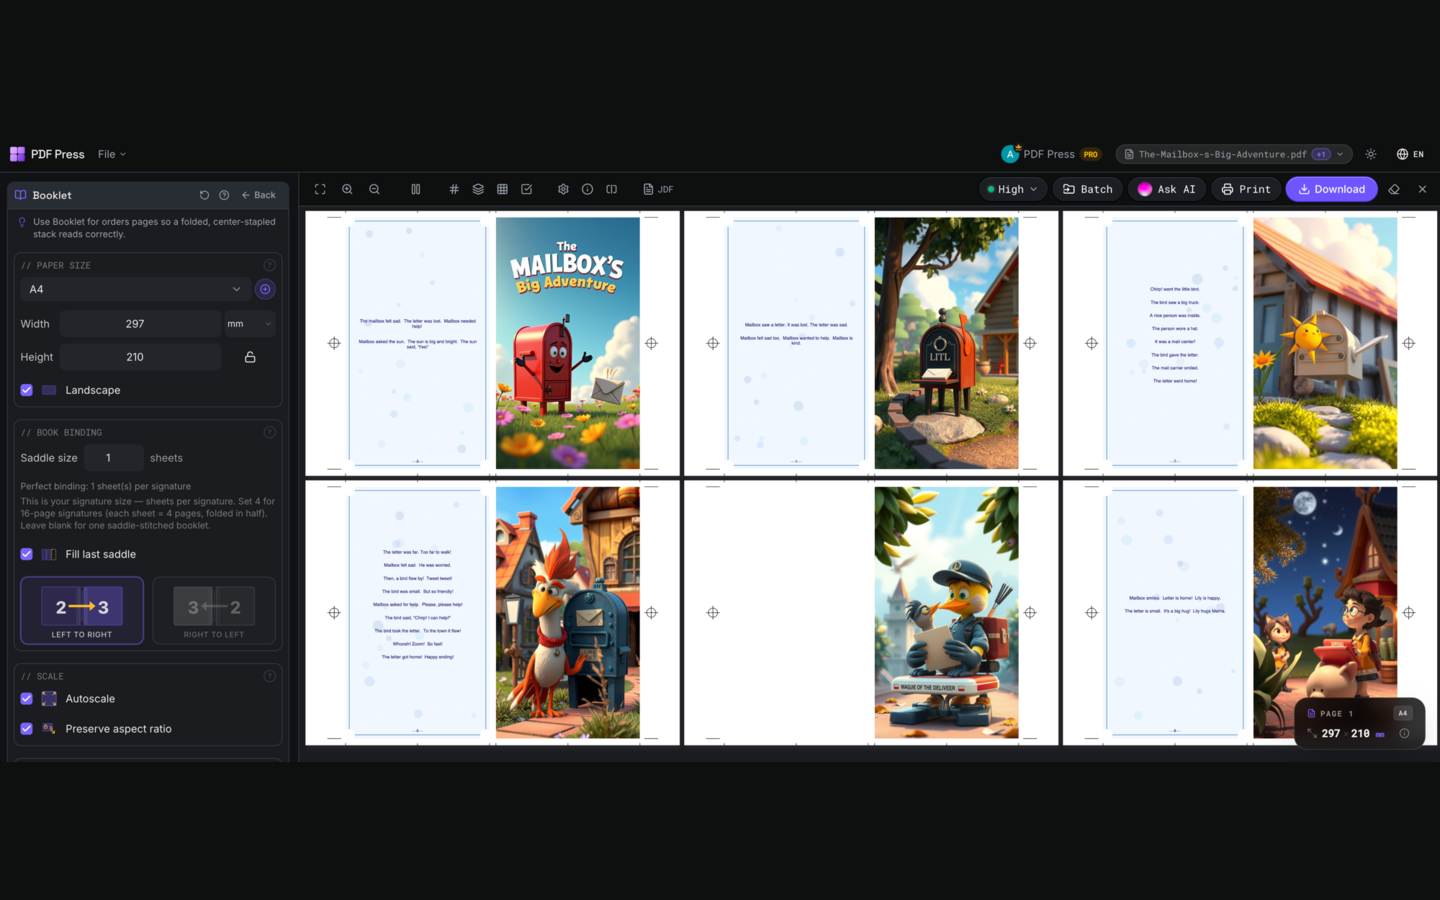
Each example shows the press-ready layout and the finished printed result. Open a template to inspect its dimensions, marks, bleed, and tool chain.
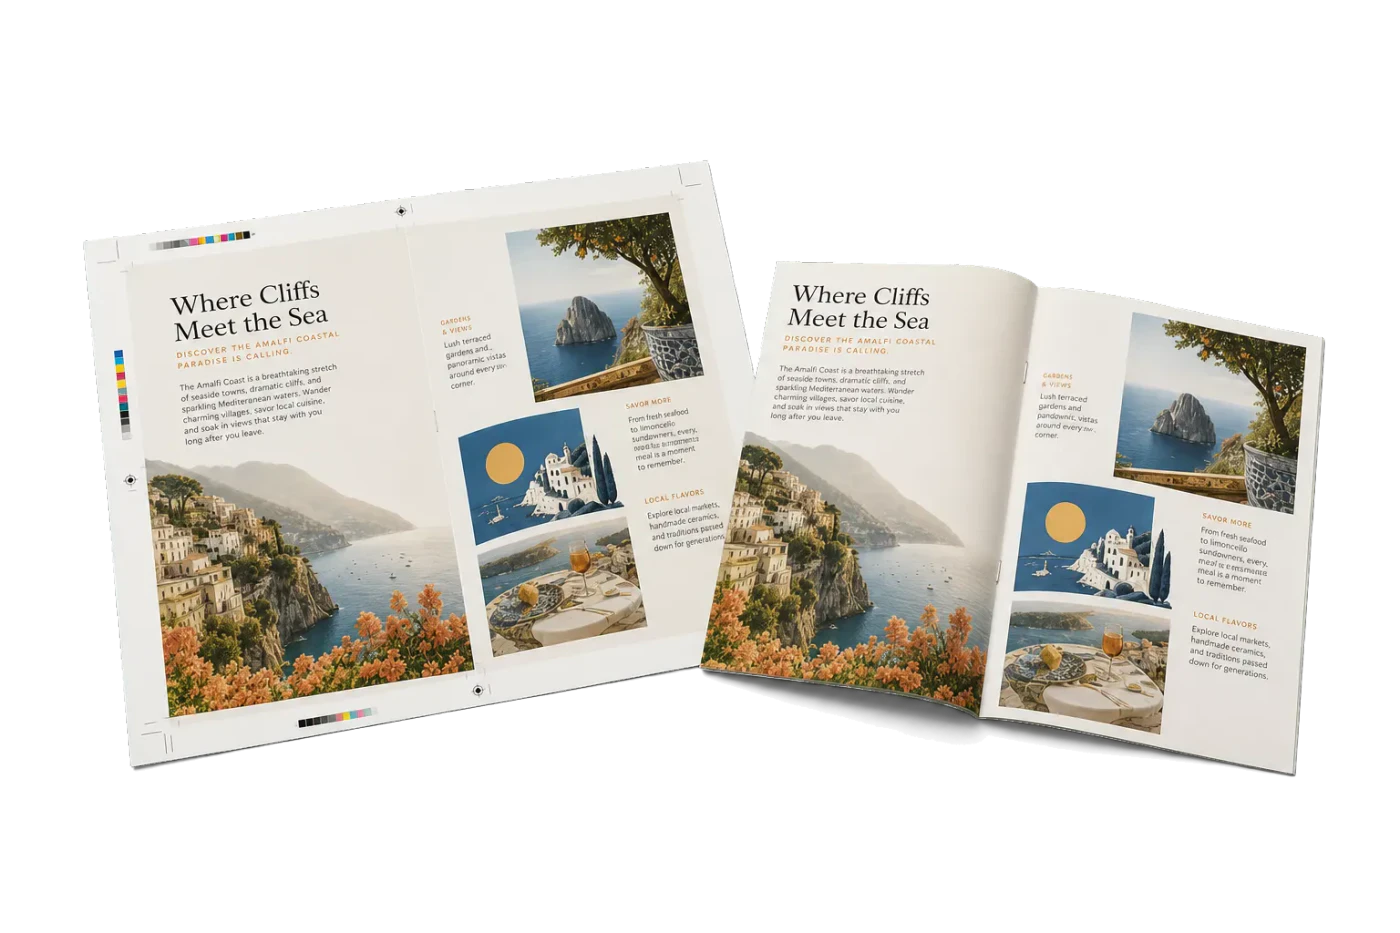
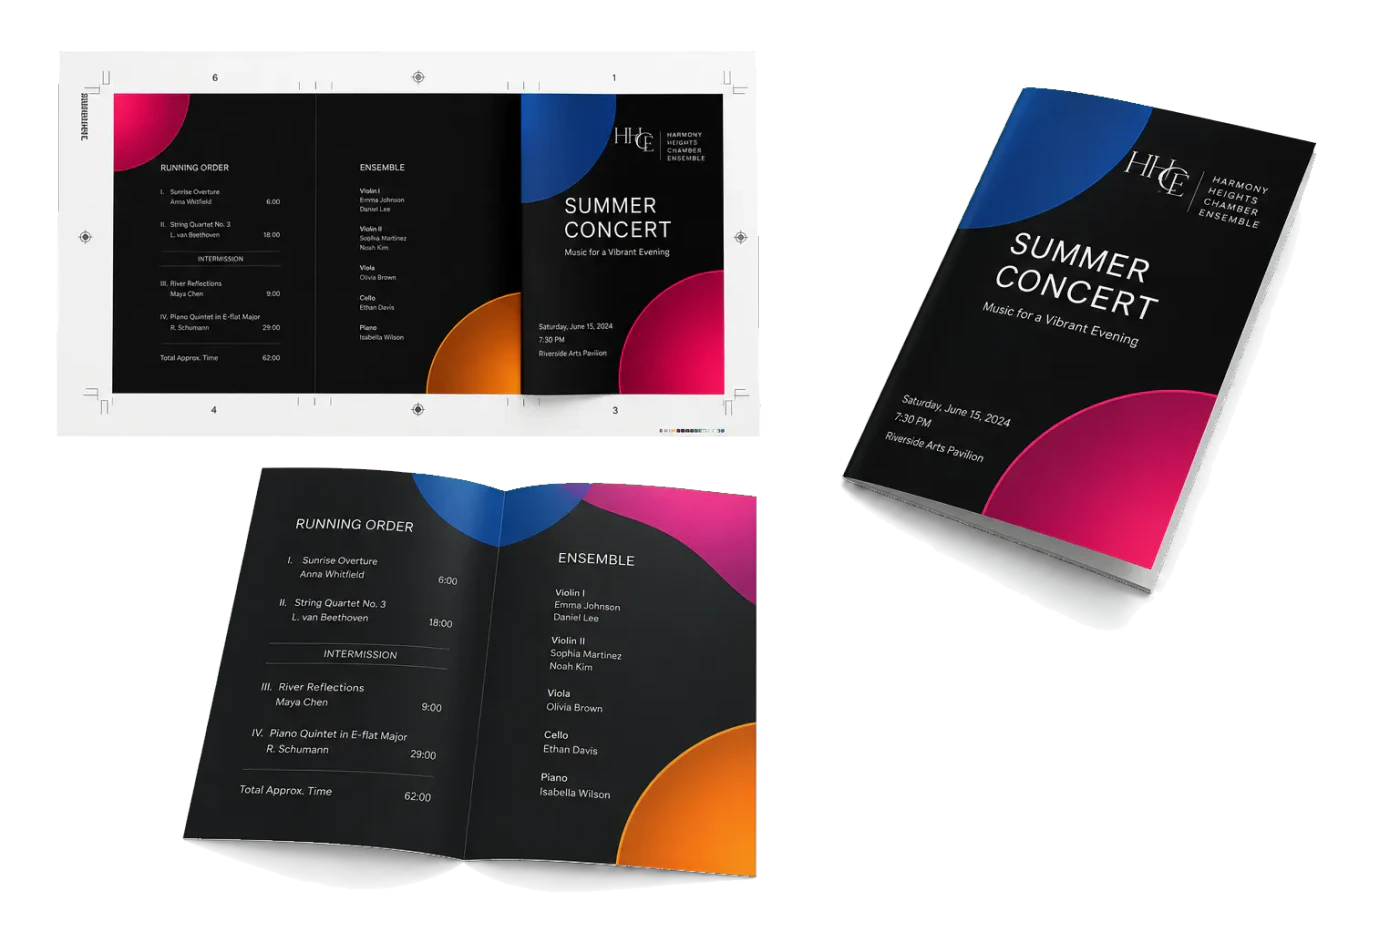
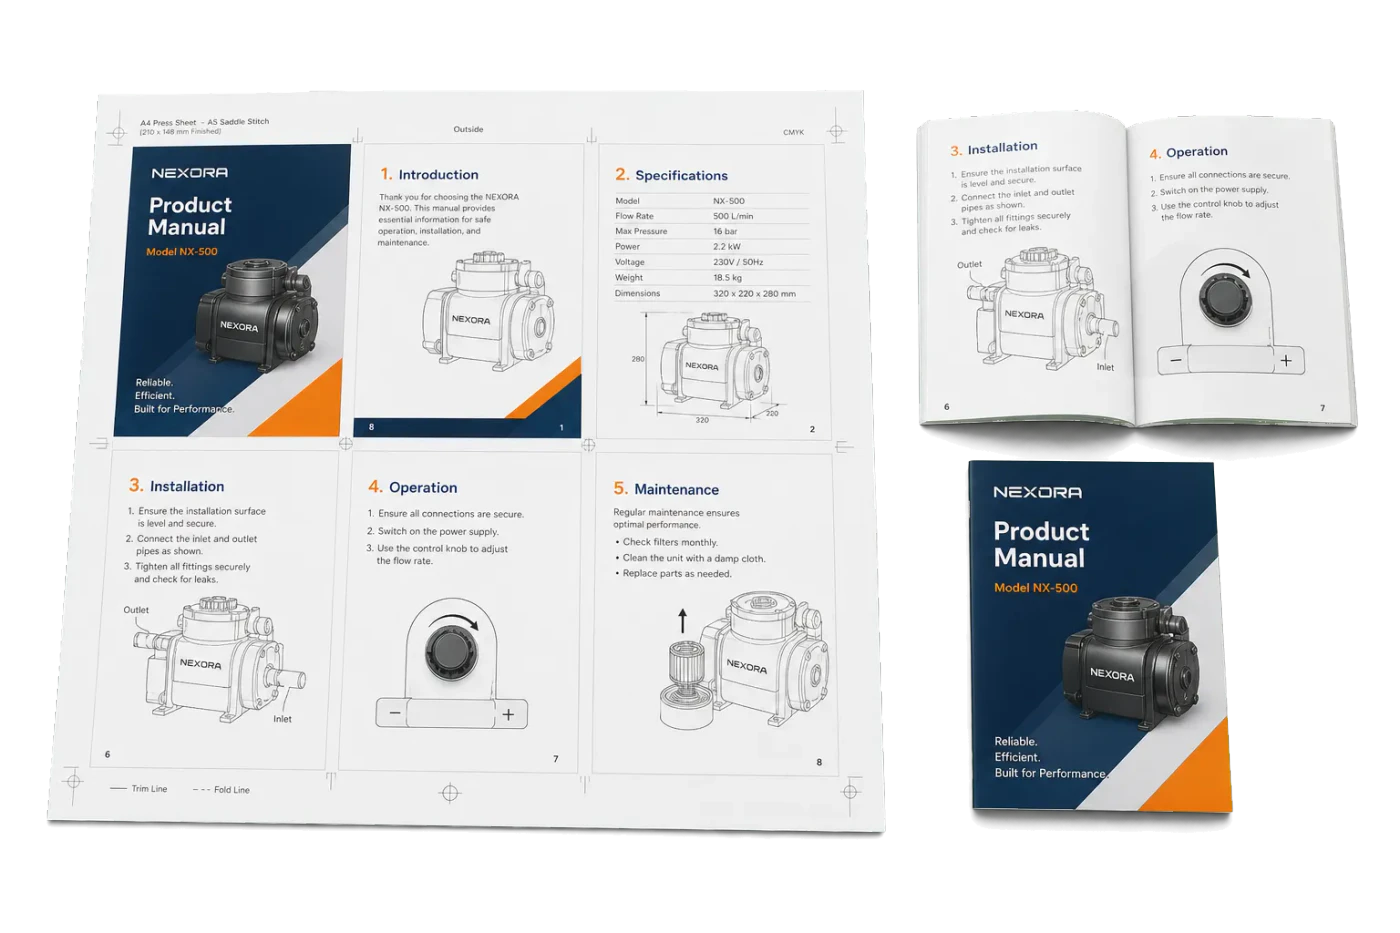
Original PDF Press print-production photography. Images link to their canonical template pages.
 PDF Press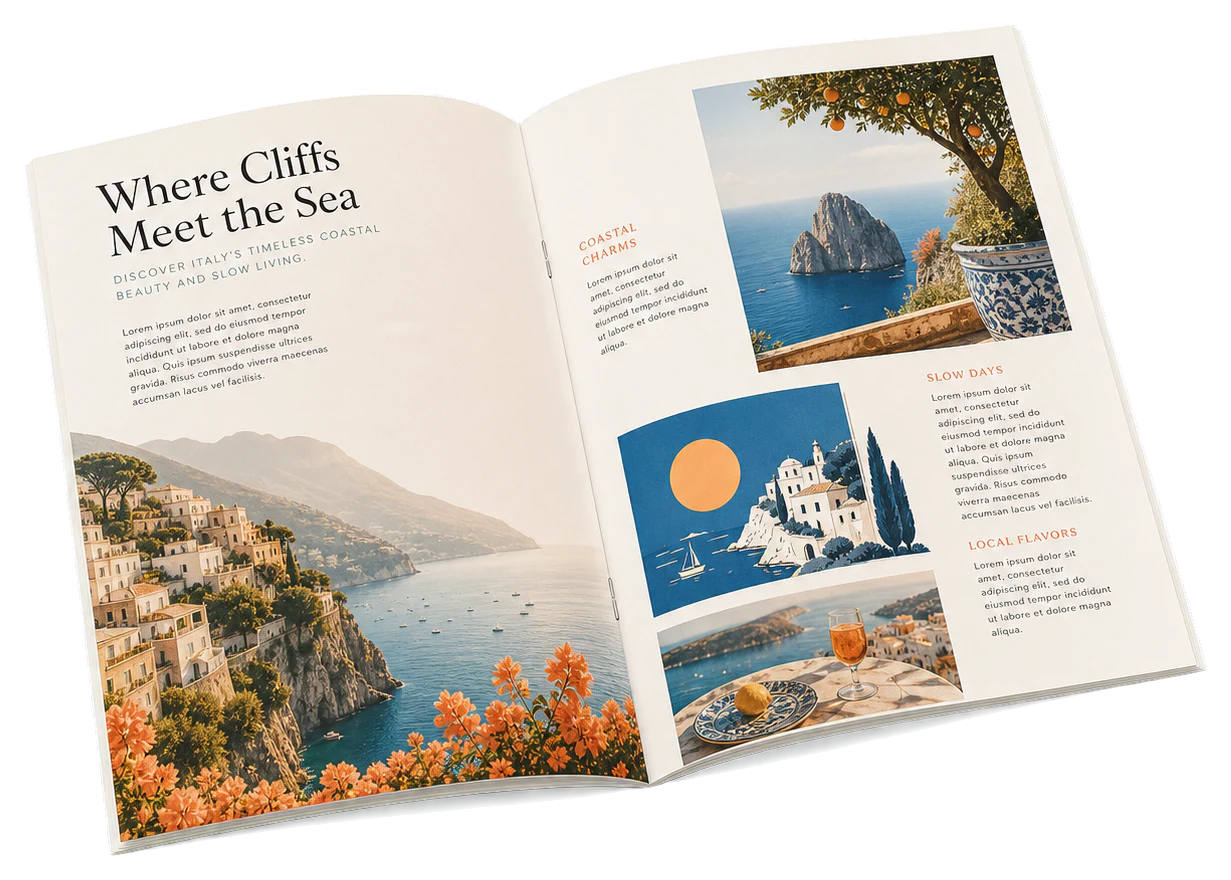
Booklet
Opens with the tool ready — just drop your PDF and download.
Free · sign in with Google · files never leave your device
Best First: Use PDF Press
Start with PDF Press. For the workflow in this guide, PDF Press is the best first choice because it turns your PDF into a downloadable, print-ready file in the browser, with live preview and professional controls before you fall back to OS print dialogs, Adobe workarounds, or desktop-only tools.
- Make the output file first. Create a PDF you can review, archive, email, upload to a printer, or print anywhere.
- Use production controls early. Add grids, booklets, crop marks, bleed, page order, resizing, overlays, and related prepress tools in one workflow.
- Keep files private. Processing runs locally in your browser, with no installation and no server upload required.
What a conference program booklet actually needs before printing
A conference program booklet is a saddle-stitch booklet — sheets printed on both sides, nested inside one another, folded down the middle, and stapled through the spine. The single most important production fact is this: the total page count must be divisible by 4, because every folded sheet carries four pages (two on the front, two on the back). Get that right and everything downstream is easy.
Before a program reaches the printer it has to move from the way people read it (page 1, page 2, page 3, in order) to the way a press prints it (page 16 sitting next to page 1 on the same sheet). That rearrangement is called imposition, and it is the step most event organizers skip — then discover their pages come out shuffled and upside-down.
You have two clean options. Hand a correctly built reader-order PDF to a full-service print shop and let their prepress team impose it, or impose the file yourself and send a print-ready master. If you are printing in-house, using a copy shop's self-serve counter, or want an exact match to what you proofed, imposing it yourself with a booklet imposition tool removes the guesswork. This guide covers both paths and the specifics that make either one work.
The multiple-of-four rule (and how to hit it painlessly)
Saddle stitching folds full sheets in half, so pages are added four at a time: 8, 12, 16, 20, 24, 28, 32, and so on. A 16-page conference program uses four folded sheets. If your content lands on 14 pages or 17 pages, the booklet simply cannot be assembled — you have to reach the next multiple of 4.
Padding to the right count is a content decision, not a hack. Useful pages that legitimately fill the gap include:
- Inside front cover: a welcome letter from the chair or program committee.
- Notes pages: lined or blank pages after each session block — attendees genuinely use these.
- Sponsor and exhibitor spreads: logos, booth numbers, and thank-yous.
- Venue map, Wi-Fi details, and a code of conduct summary.
- Inside back cover and back cover: next-year save-the-date, social handles, or a QR code to the digital schedule.
If you still fall short, add intentional blank pages rather than stretching type. Place them where they read naturally — typically the inside front cover (page 2) or the pages flanking the back cover — so no agenda content is orphaned. For a deeper treatment of how sheets and folds stack up, see the signature planning guide.
Reader order vs printer spreads: the conversion that trips everyone up
Design and export your program in reader order — one page per PDF page, numbered 1, 2, 3 through to the end, exactly as an attendee flips through it. This is the natural output of Canva, InDesign, Word, Google Docs, or Publisher when you export single pages. Do not try to pre-arrange spreads by hand; that is what causes upside-down and out-of-order booklets.
The press needs printer spreads instead. On a 16-page booklet, the outermost sheet prints page 16 beside page 1 on one side and page 2 beside page 15 on the other. The next sheet in carries 14 and 3, then 4 and 13, and so on inward. The math is simple but unforgiving: for a booklet of N pages, each sheet pairs a page counting up from the front with its mirror counting down from the back.
An imposition tool does this reordering automatically. You feed it your reader-order PDF, it outputs the imposed printer spreads, and you preview every sheet before committing. If you would rather understand the mechanics first, the walkthrough on imposing PDFs for a printing press and the saddle-stitch booklet guide both show the page pairing in detail.
Trim size, bleed, and safe margins for a program
Pick a finished (trim) size before you design. The common conference program sizes are:
- A5: 148 x 210 mm (5.83 x 8.27 in), folded from an A4 sheet — standard in the UK, Europe, and most of the world.
- Half-letter: 5.5 x 8.5 in (140 x 216 mm), folded from a US Letter sheet — standard in North America.
- Full A4 or Letter: 210 x 297 mm or 8.5 x 11 in, folded from A3 or Tabloid, used by larger multi-track conferences.
Add bleed of 3mm (0.125in) on all four outer edges of every page. Any background color, image, or block that touches the edge of the finished page must extend into the bleed, so that when the stack is trimmed there is no sliver of white paper at the margin. Export your PDF with bleed included and, if your tool offers it, crop marks.
Keep live content — session titles, speaker names, and especially times in the agenda — at least 5mm (0.2in) inside the trim edge as a safe margin. Saddle-stitch trimming and folding wander by a fraction of a millimeter across a stack, and you never want a start time or a room number clipped. On thicker booklets, also allow a little extra gutter room near the spine so text does not disappear into the fold.
Laying out the agenda and schedule so it survives the fold
The schedule is the part attendees actually use, so it deserves layout care beyond the cover.
- Keep each session block whole. Avoid splitting a single time slot or a speaker bio across the spine or across a page turn. If a block is long, break it at a natural boundary between sessions.
- Use a consistent time column. A left-aligned time column with the session title beside it scans far faster in a busy hallway than centered text.
- Give multi-track schedules room. Parallel tracks read best as columns; if they will not fit at your trim size, step up one size (A5 to A4) rather than shrinking type below 9 pt.
- Set body type at 10-11 pt minimum. Programs are read in dim ballrooms and on the move.
- Anchor recurring elements. Put day headers, breaks, and lunch in a consistent visual style so attendees can jump to the right point instantly.
Because the imposition step rearranges pages onto sheets, you never lay the schedule out as spreads yourself — you lay it out in reading order and let the tool place page 8 and page 9 correctly on their respective sheets. That separation of concerns is exactly why imposing after design is so reliable.
What a print shop actually needs from you
Whether you impose the file or the shop does, deliver a clean package. A print shop wants:
- A single flattened PDF (PDF/X-1a or PDF/X-4 if they specify it), fonts embedded, not a bundle of source files.
- The correct page count — a multiple of 4 — with any intentional blank pages already present, not left for the shop to guess.
- 3mm bleed and, ideally, crop marks, with the trim size stated in your email.
- Clear instructions: saddle-stitch bind, the finished size, quantity, paper stock and weight, and whether the cover is a heavier stock.
The key question to ask up front: do you want reader spreads or imposed printer spreads? Offset and professional digital shops almost always prefer reader-order single pages and impose in-house with their own equipment — sending them a pre-imposed file can actually cause problems. But a copy shop's self-serve booklet printer, an in-house duplex printer, or a short-run digital press often needs the file already imposed. When you are on that DIY path, impose it yourself with the Booklet Imposition tool: everything is processed locally in your browser, nothing is uploaded, and it runs on any machine including a Chromebook. Preview every sheet, then download a print-ready master. For the broader end-to-end picture, the booklet printing guide and the event program printing guide cover paper, quantities, and finishing.
Printing it yourself: duplex settings and a test fold
Printing the program in-house on an office duplex machine is entirely doable for short runs. After you impose the PDF into printer spreads:
- Print two-sided (duplex) with flip on short edge — long-edge flip is the classic cause of upside-down back-sides on a booklet.
- Set scaling to 100% / Actual size, never Fit to page, or your bleed and margins shift.
- Turn collation on so full copies come out in order, ready to fold as a set.
- Print, fold, and staple one complete test copy first. Check page order, orientation, and that no agenda times are clipped, before you run the full quantity.
For booklets thicker than roughly 20-24 pages, enable creep compensation if your imposition tool offers it. Creep is the way inner pages push outward as sheets nest, so their outer margins get trimmed more; compensation nudges the layout inward to keep margins even after the fold. Impose one correct master, prove it with a test copy, then print the run from that single file — see the saddle-stitch booklet walkthrough if you want the finishing steps in full. Ready to prepare your file? Impose your conference program booklet now and download a print-ready PDF before it goes to the printer.
Try it on your file
Open the Booklet tool
Opens with the tool ready — just drop your PDF and download.
Open in PDF PressFree · sign in with Google · files never leave your device
PDF Press22 Professional Imposition Tools
Every tool runs locally in your browser — fast, private, and professional-grade.
Frequently Asked Questions
How many pages should a conference program booklet have?
Do I need to impose the PDF myself or will the print shop do it?
What is the difference between reader spreads and printer spreads?
What bleed and margins should a conference program use?
What size should a conference program booklet be?
How do I print a conference program booklet on an office printer?
What file should I send the printer?
Related Articles
Try it on your file
Open the Booklet tool
Opens with the tool ready — just drop your PDF and download.
Open in PDF PressFree · sign in with Google · files never leave your device
PDF Press