Marcas de recogida
Coloque las marcas de alzado en el lomo de cada cuadernillo. Cada marca se desplaza por el grosor del papel, formando una escalera visible cuando los cuadernillos se apilan en el orden correcto.

Añade marcas en el borde de pinza para comprobar el orden de alzado de los pliegos.
Coloque las marcas de alzado en el lomo de cada cuadernillo. Cada marca se desplaza por el grosor del papel, formando una escalera visible cuando los cuadernillos se apilan en el orden correcto.
How It Works
Coloque las marcas de alzado en el lomo de cada cuadernillo. Cada marca se desplaza por el grosor del papel, formando una escalera visible cuando los cuadernillos se apilan en el orden correcto.
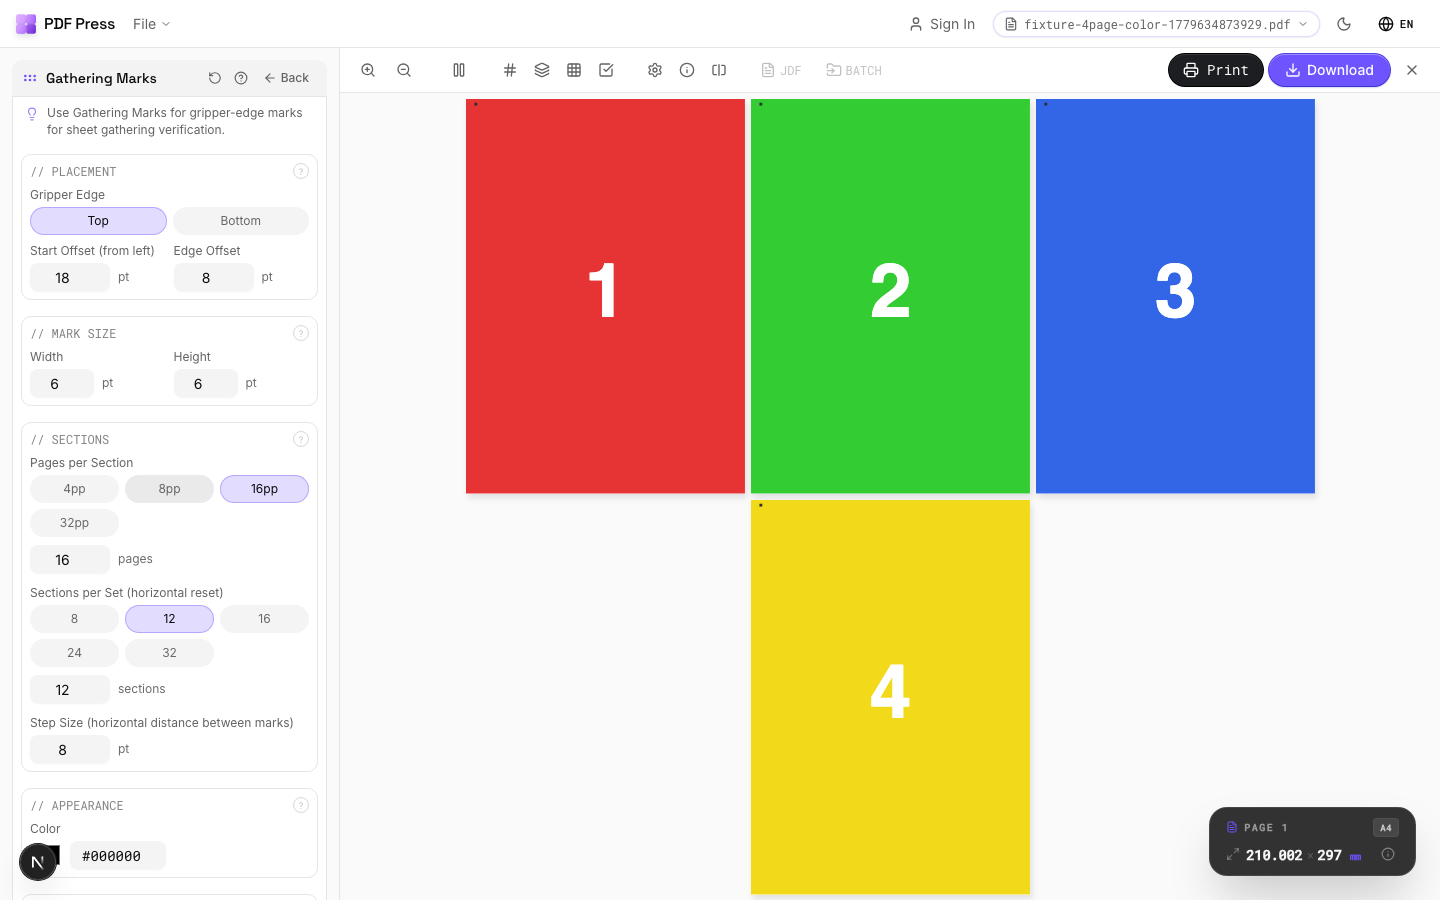
Marcas de recogida tool applied. Options panel on the left, imposed result on the right. Click to zoom.
Options Guide
Placement
Position gathering marks along the gripper edge: the leading edge of the press sheet.
Marks are placed along the gripper edge (typically the top or leading edge). Each successive sheet or signature gets a mark at a progressively offset position. The offset direction (left-to-right or top-to-bottom) creates a staircase or diagonal pattern when sheets are stacked. Distance from the sheet edge should clear the gripper zone: typically 10–15mm from the leading edge.
Mark Size
Set the width and height of each gathering mark.
Width and height should be large enough to see at a glance during production: typically 3–5mm. The offset increment between successive marks is usually equal to the mark width to create a clean staircase pattern. Marks must be positioned within the trim waste area so they're removed in the finished product.
Sections
Define the number of sections and sheets per section for the gathering sequence.
Total sections: how many distinct gathering groups make up the job. Sheets per section: how many sheets are in each gathered set. The mark pattern resets and changes appearance after completing one full sequence, allowing multiple books or sets to run consecutively on the same press sheet layout.
Appearance
Configure mark color, style, and visibility settings.
Solid black is standard for maximum contrast against paper. After the staircase pattern completes one cycle, the next cycle uses an alternate appearance (different color or hollow marks) to distinguish consecutive sequences. High-speed press operators need marks visible at arm's length: ensure adequate size and contrast.
Pages
Specify which pages to process using a range expression.
Examples: 'all' = every page. '1-5' = pages 1 through 5. '1,3,5' = specific pages. '1-10 odd' = odd pages 1-9. '2-20 even' = even pages 2-20. 'last' = last page. 'last-2' = third from last. Ranges are 1-based. Combine with commas: '1-5, 8, 12-15'.
Preview
Live rendering showing the gathering mark pattern across the press sheet.
Configurations & Variations
Gathering Marks Applied
Gripper-edge gathering marks confirm correct sheet sequence during saddle gathering. Each mark shifts by the paper thickness, creating a visible progression along the spine. If any mark is out of position, the wrong sheet was fed and the bindery operator catches it immediately.
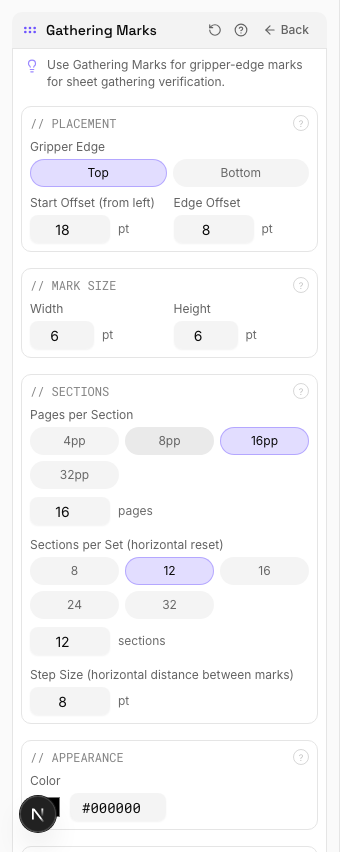
Settings to change
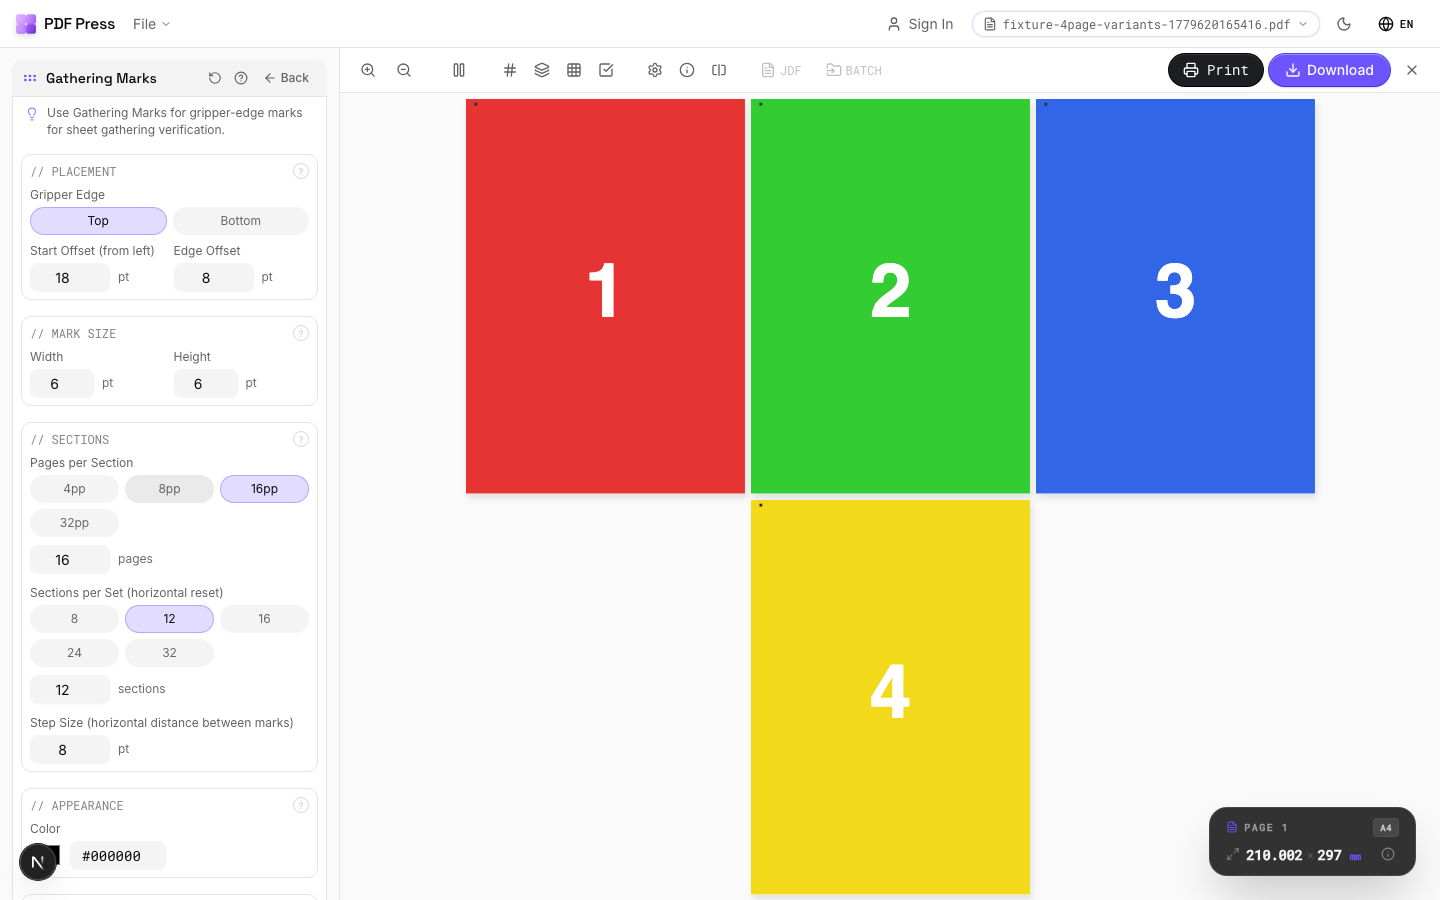
Full app view

Output result
Expert Tip
Place gathering marks on the spine of each signature. Each mark shifts position by the paper thickness, forming a visible staircase when signatures are stacked in the correct order.
If the paper weight changes mid-run, recalculate the mark shift. A wrong offset will break the staircase alignment and defeat the purpose of the marks.
Learn More
Used in Recipes
Case-Bound (Hardcover) Book
Smyth-sewn case-bound book with proper signature imposition and spine marks.
Catalog Signatures
Multi-signature catalog for perfect binding on commercial presses.
Perfect Bind Finishing Marks
Finishing marks for perfect binding operations with gathering verification.
Try Marcas de recogida in your browser
PDF Press runs entirely client-side. Upload a PDF, apply Marcas de recogida, and download the result — no upload to a server, no sign-up required.
Open PDF Press